 Loading... Please wait...
Categories
Our Newsletter
Installation
Installation:
The Mineralizer Copper/Silver Ionization system can easily be installed by any handy homeowner in about an hour or less following the simple installation instructions below. Although the installation procedure is quite simple, we recommend that you familiarize yourself with these instructions and plan your course of action before starting. Some homeowners may opt to contact a handyman or a professional plumber to complete the installation for them.
1) Mount Controller On Wall.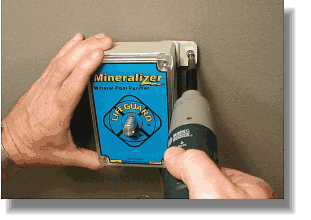
Find an open, clear space on the wall to hang the controller assembly. Mark the holes and mount the controller on the wall using the supplied mounting brackets and hardware. Be sure the placement of the controller is such that the wires will reach from the controller to the electrical outlet and from the controller to the electrode chamber.
2) Measure & Cut PVC Pipe.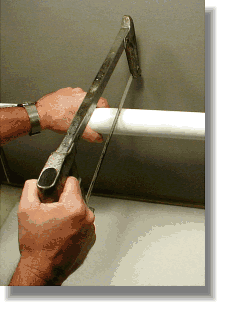
Measure twice... Cut once!
Find a clear 6" section of pipe before or after the filter (preferably after the filter, this way only clean water passes through the chamber). Measure the diameter of your existing pipe and make a cutout according to the pipe's diameter:
A) If your pipe is 1 1/2" in diameter then measure and cut out a 3 3/8" section of PVC pipe. Remove the reducing bushings from the T-chamber and then glue back in place to convert the T-chamber from 2" to 1 1/2".
B) If your pipe is 2" in diameter then measure and cut out a 2 1/2" section of PVC pipe. Remove and discard the enclosed reducing bushings.
3) Install the Mineralizer T-Chamber.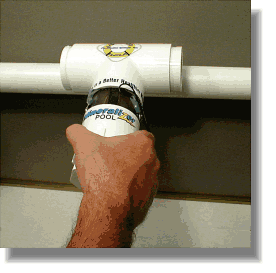
Remove any rough edges from the pipe. Now slip the electrode T-chamber assembly into place (unglued) and check for proper fit and clearances. Clean all pipe fittings with primer/cleaner before gluing together. If you need to use the reducing bushings, glue them to the T-chamber first!!
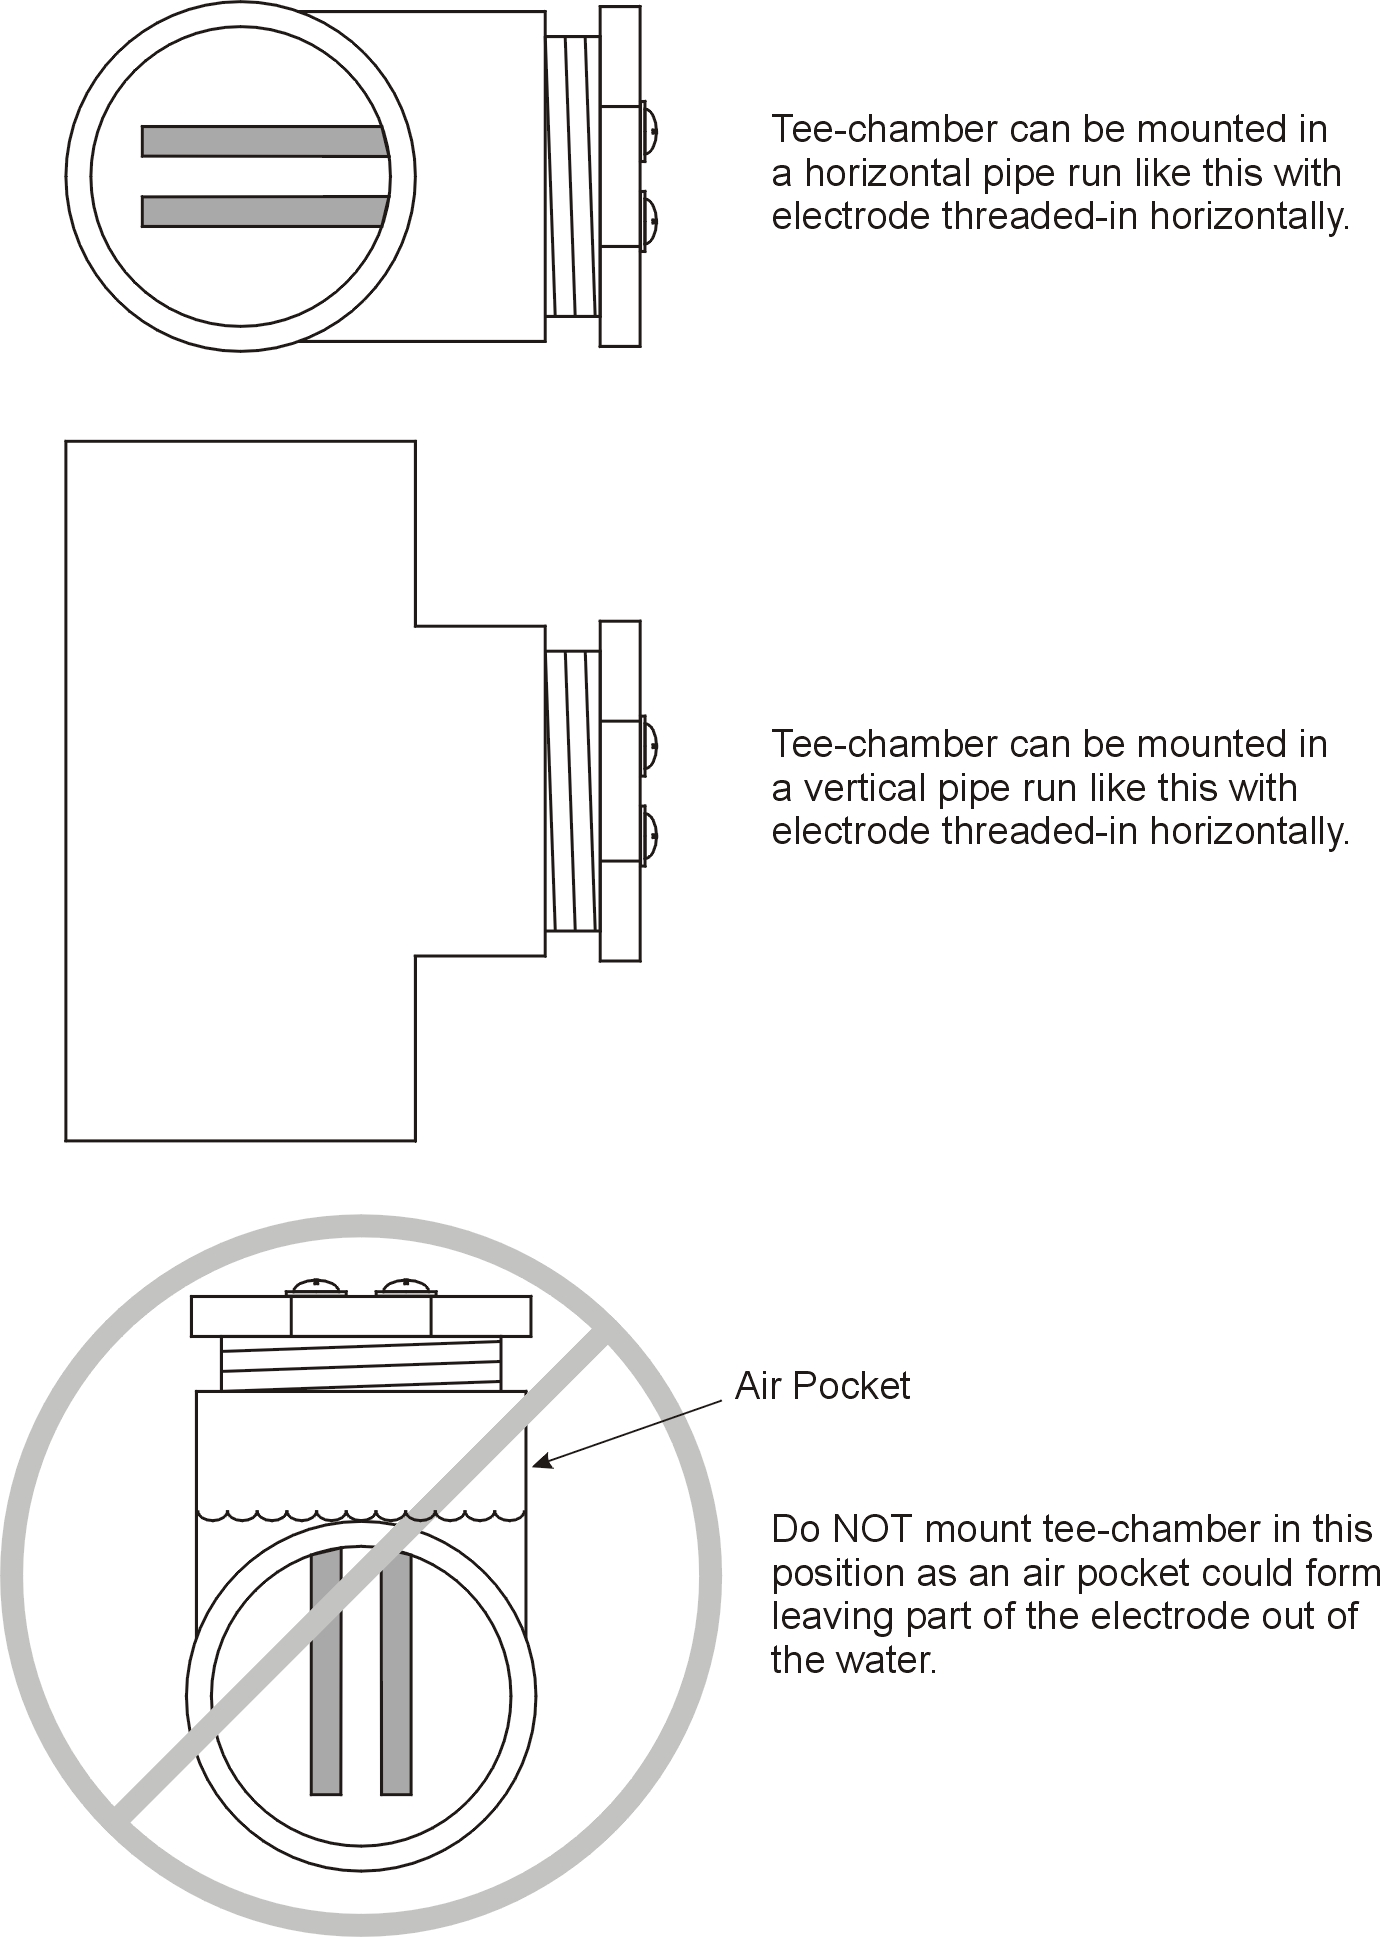
IMPORTANT: When installing the T-chamber, make sure the electrode chamber is pointed down or is parallel to the ground surface (horizontal). The unit can also be mounted in a vertical pipe run, as long as the electrode chamber is horizontally placed. If the electrode chamber is mounted in the "UP" position, then the chamber can fill with air causing the reduction or elimination of ion generation.
4) Plug Into GFCI Outlet.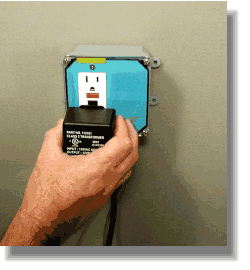
Connect the wires from the controller to the electrode chamber and from the power supply to the controller. Plug the transformer power supply into a 110VAC outlet that is protected by a Ground Fault Circuit Interrupter (GFCI circuit). Check the voltage at the electrode terminals with a voltmeter. Voltage should vary from 0 Volts DC to approximately 10-11 Volts DC as output knob is turned from full counterclockwise position to full clockwise position.
IMPORTANT: The GFCI 110VAC outlet must be wired directly to the pool pump's timer assembly so that power to the outlet is supplied only when the pump is operating.
5) Adjustment and Operation.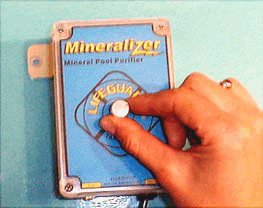
Operation:
A) Turn controller output power up to 100% and let pump run for 24 hours.
B) After 24 hours test the Copper level with the test kit included.
C) After the Copper level reaches the recommended 0.3ppm to 0.4ppm level, reduce pump run time to normal.
D) Reduce output power level to 50%, check Copper level weekly, and adjust output as necessary until the unit is "dialed-in" to automatically maintain the correct Copper level. After this initial dial-in period you can reduce the frequency of Copper tests to once or twice per month.
E) Add a low dosage of chlorine weekly or when water gets that "dull" look. Most average sized pools only require about 1/2 to 1 gallon of chlorine in an average week. When properly measured, this chlorine "shock" will burn off in a few hours, leaving the highest water quality you've ever swam in!
Note: More detailed information on installation, operation, trouble-shooting, and water chemistry is included in the manual.
Pump Run Time:
Many people using chlorine or bromine in their pools run the pool pump twelve, sixteen or even twenty-four hours a day, especially during the summer. Such long pump run times are unnecessary when using the Mineralizer system. One of the problems with chlorine & bromine is that the UV rays of the sun rapidly breaks-down and dissipates these chemicals, so water circulation during daylight hours is necessary to minimize their loss. However, the sun does not affect the electronically produced ions of the Mineralizer system. Thus, shorter pump run times are possible. With this system, therefore, you only need to run the pump long enough to filter your water.
How long should that be?
A one horsepower pump with 63 feet of head pressure will pump about 50 US gallons per minute. This will turn over a 24,000 gallon pool in about 8 hours. Determine your pump size and pump head (see below) and run your pump long enough to recycle your water once per day in the summer. Typically this is 8-10 hours per day. In the winter you may want to cut your pump run by half or less.
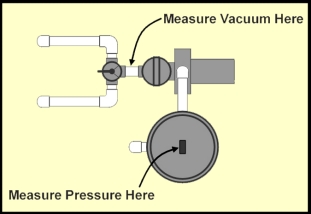
How to determine pump head:
The total resistance to the flow of water is measured in "feet of head". The greater the resistance to flow, the lower the flow rate. The quickest and easiest way to approximate the pump head resistance is as follows:
A) Measure the vacuum pressure at the pump inlet and multiply by 1.13. A reading of 15"Hg times 1.13 equals 16.95 feet of head.
B) Measure the filter pressure (with a clean filter) and multiply by 2.31. A reading of 20psi times 2.31 equals 46.2 feet of head.
C) Add the two together to get the total resistance in feet of head. 16.95 plus 46.2 equals approximately 63 feet of head.
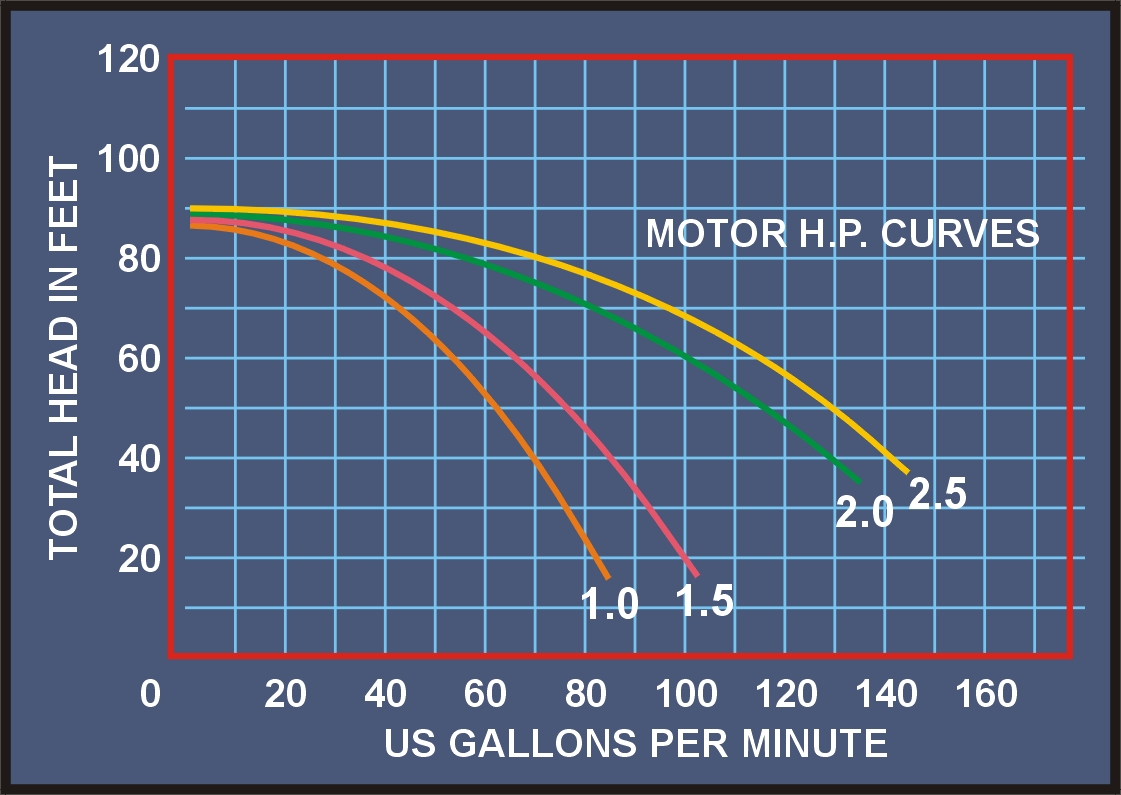
Looking at the chart you can see that a 1HP pump with 63 feet of head will pump approximately 50 US gallons per minute (gpm). Multiply this number by 60 to find the total number of gallons per hour (gph), in this case 50gpm X 60 minutes = 3000gph. Now divide the number of gallons in your pool by the gallons per hour to determine how many hours to run your pump. In this scenario, a 24,000 gallon pool would require 8 hours of run time to turn the pool over once (24,000 gallons/3000gph = 8 hours).
